Snowshoe Grind Hike – Table of Contents
- Hike Introduction
- Hike Statistics
- Snowshoe Grind Video
- Map and Elevation
- Hiking Route Description
- Directions and Parking
- Free PDF Download
Snowshoe Grind Hike Intro
The Snowshoe Grind is a winter hiking trail on Grouse Mountain Resort. Everyone is familiar with the Grouse Grind, but not everyone knows that a winter version of the trail exists.
In February 2011, Grouse Mountain Resort opened up the Snowshoe Grind atop the mountain, in the Munday Alpine Snowshoe Park. A General Admission ticket (or season pass) for the gondola ride up to the chalet is required.
“Grouse Mountain has translated the intensity and accomplishment of the Grouse Grind into a new winter experience – the Snowshoe Grind. Located mountaintop, the Snowshoe Grind promises to challenge. Starting at the relocated Grouse Grind timer, outside the Chalet adjacent the Skyride ramp and just southwest of the skate pond, the Snowshoe Grind is the perfect way to start Grouse Grind hiking season fit and strong, while embracing a snowy winter landscape”1.
The Snowshoe Grind is the winter version of the Dam Mountain hike.
Avalanche Awareness
Avalanche.ca rates this route as Class 1 (Simple) terrain: “Exposure to long angle or primarily forested terrain. Some forest openings may involve the runout zones of infrequent avalanches. Many options to reduce or eliminate exposure. No glacier travel.” Use the Avalanche.ca Trip Planner to factor in the risk levels with current avalanche forecasts. More information about winter travel and avalanche safety can be read here.
The Snowshoe Grind Stats
Rating: Moderate
Distance: 4.3 km
Net Elevation Change*: 215 m
Highest Point: 1,342 m
Time Needed: ~1 Hour
Type: Out and back
Season: November to April
Dogs Allowed: No
Est. Driving Time from Vancouver: 30 Minutes
Trailhead Coordinates: 49.378884, -123.081997
Snowshoe Grind Video
Here is a quick video of our experience on this hike!
Snowshoe Grind Map and Elevation
Snowshoe Grind (one-way)
Profile
Description
The Snowshoe Grind Route
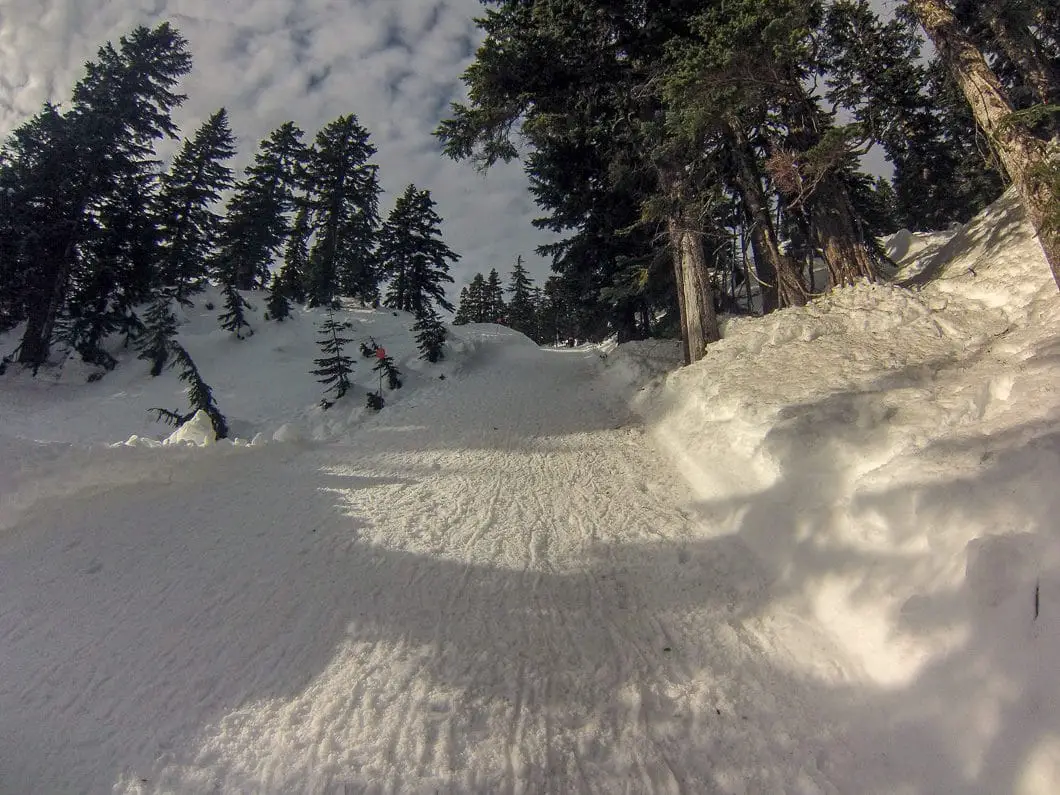
To start the Snowshoe Grind, you will find the trailhead just beside the skate pond (by going hard-left when you get off the gondola). There are poles marking the trail from the trailhead up to the summit of Dam Mountain, and they are all labeled “SSG”. The trail is well marked and easy to follow all the way up.
You will initially walk north, parallel to the Paradise ski run and Greenway chair lift. This section is actually a part of the Blue Grouse Loop – a different snowshoe trail – but connects you to the Snowshoe Grind. After you’ve passed the grizzly bear pen, you’ll quickly zig-zag under the Peak chairlift and then be on a wide service road. This first kilometer or so of the hike is relatively flat and easy.
Before long the road funnels into a trail. There will be a few steep sections, that may prove difficult on the way back down for the novice snowshoer. The trails are well-worn and marked so you should have no trouble staying on track. Simply follow the orange poles up to the top.
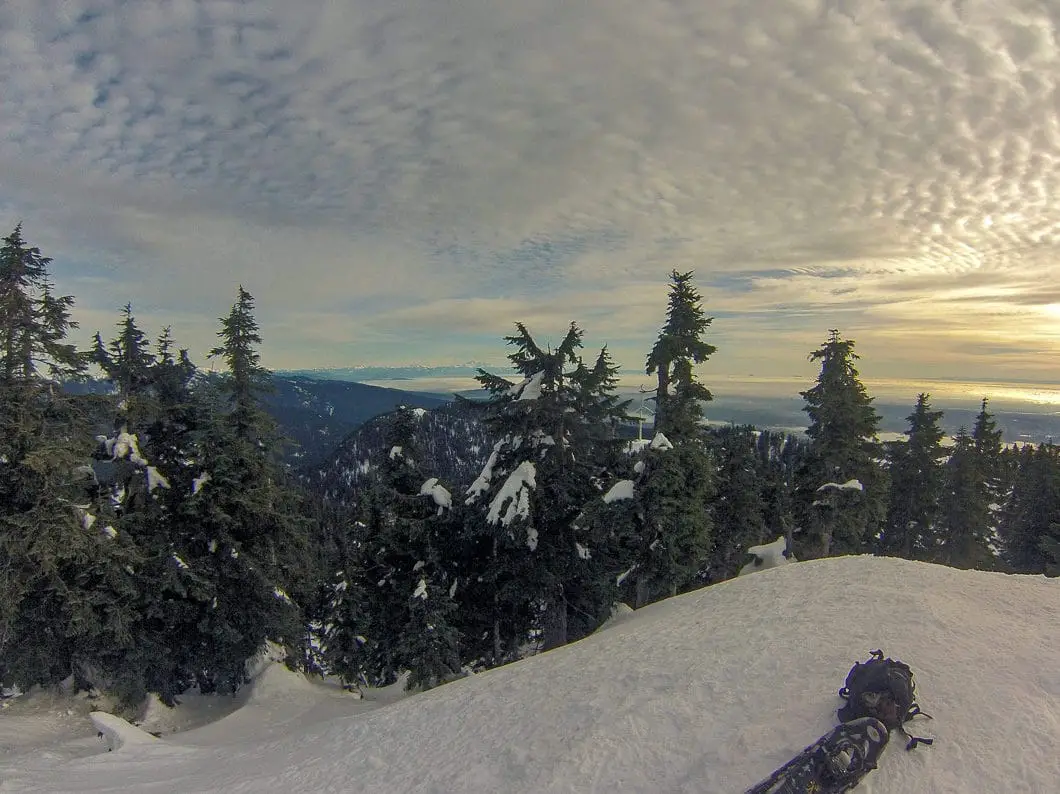
If you’re lucky and have blue skies, you’ll have a remarkable view of Vancouver, the Pacific Ocean and Mount Baker down in the States. If its grey and the snow is falling, you won’t have the same panorama, but the falling snow provides its own spectacle.

The trail was designed so that it would take a comparable time to complete as would your normal Grouse Grind time. I haven’t found this to be the case, however, as I have put on my MICROspikes and run the trail whenever I have done it. I can complete the trail to the top of Dam Mtn in about 20 minutes as opposed to my 45 minute Grouse Grind time. But, if you were casually walking then I think the times would be a lot closer. The difference with the Snowshoe Grind is that a lot of it is actually runnable, whereas the Grouse Grind for me is too steep to run at all.
And despite the name of the trail, you often don’t actually need snowshoes. The trail is so well used, unless it has just snowed a lot, the snow is usually quite compact. Wearing something like the Kahtoola MICROspikes or Yaktrax might be easier. Even some sturdy winter hiking boots might get the job done and save you the cost of rentals if there isn’t any fresh snow.
There are also many other great snowshoe trails up on Grouse Mountain including the Blue Grouse Loop and the Discovery Loop. The Discovery Loop is great to add-on to the end of the Snowshoe Grind if you want to extend your trip. I think the viewpoint at the end of the Discovery Loop is even better than from Dam Mountain. You can see the wind turbine, much of the Fraser Valley, and the other neighboring mountains like Crown Mountain and Coliseum Mountain. Adding the Discovery Loop brings the total trip to about 6.4km.
There is a PDF map of the snowshoe park trails here.
Download the PDF version of this guide for offline use on any device
Directions and Parking
From Downtown: Take Georgia Street through the Stanley Park causeway and over the Lion’s Gate Bridge. Take the North Vancouver exit to Marine Drive, then left up Capilano Road. Follow Capilano Road all the way to the Grouse parking lot at the top.
If you’re coming from Highway 1 heading west: Take the Ironworkers’ Memorial (Second Narrows) Bridge along Highway #1 westbound to Capilano Road and take the North exit. Follow Capilano Road all the way to the Grouse parking lot at the top.
Click here for Google Map Directions.
Other great snowshoe trails
- Mount Seymour, Pump Peak Snowshoe (moderate)
- Dog Mountain Snowshoe (Moderate)
- Hollyburn Mountain Snowshoe (Moderate)
- View all hiking guides here

Miranda
Hi,
What size /type snowshoe is best for the winter grouse snowshoe hiking? Any particular type good for all-round use?
Thanks,
Miranda
Karl W
Hi Miranda, I’m not the most knowledgeable about snowshoes to be honest. I find for heavily used winter trails like the Grouse Grind, microspikes are actually better. Unless you’re first on the trail with lots of fresh powder, the trail is likely to be packed down snow, in which case micros spikes are, in my opinion, actually easier and more convenient. Hope that helps!
Here’s a review of Hillsound’s spikes we wrote – we like these guys because they’re a local company who makes a great product: https://www.outdoorvancouver.ca/gear-review-hillsound-trail-crampon/